Your DIY Guide to Replacing a Rice Cooker’s Heating Element
Table of Contents
A rice cooker is one of the most reliable kitchen appliances, but like any device, it can wear out over time. One of the most common issues is a faulty heating element. Without it, the cooker can’t generate the heat needed to cook rice or keep it warm.
Instead of replacing the entire unit, you can often solve the problem by changing the heating element yourself. This guide walks you through the process step by step and answers common questions you may have along the way.
How Do You Know If the Heating Element Is Faulty?
Before diving into repairs, it’s important to confirm that the heating element is the problem. Signs include:
- Rice cooker not heating or cooking unevenly
- The warm mode not functioning
- A burning smell or visible damage inside the cooker
If you’ve tested the power cord and fuse and those are in working order, chances are the heating element is the culprit.
Tools and Materials You’ll Need
Preparation makes the repair smoother. Common tools include:
- Screwdriver set (Phillips and flathead)
- Multimeter for electrical testing
- Replacement heating element specific to your rice cooker model
- Heat-resistant gloves
- Cleaning cloth
Make sure you purchase a compatible heating element. Using the wrong part can lead to safety hazards or further damage.
Step-by-Step: Replacing the Heating Element

- Unplug the rice cooker and ensure it is completely cool.
- Disassemble the cooker by removing the bottom cover with a screwdriver.
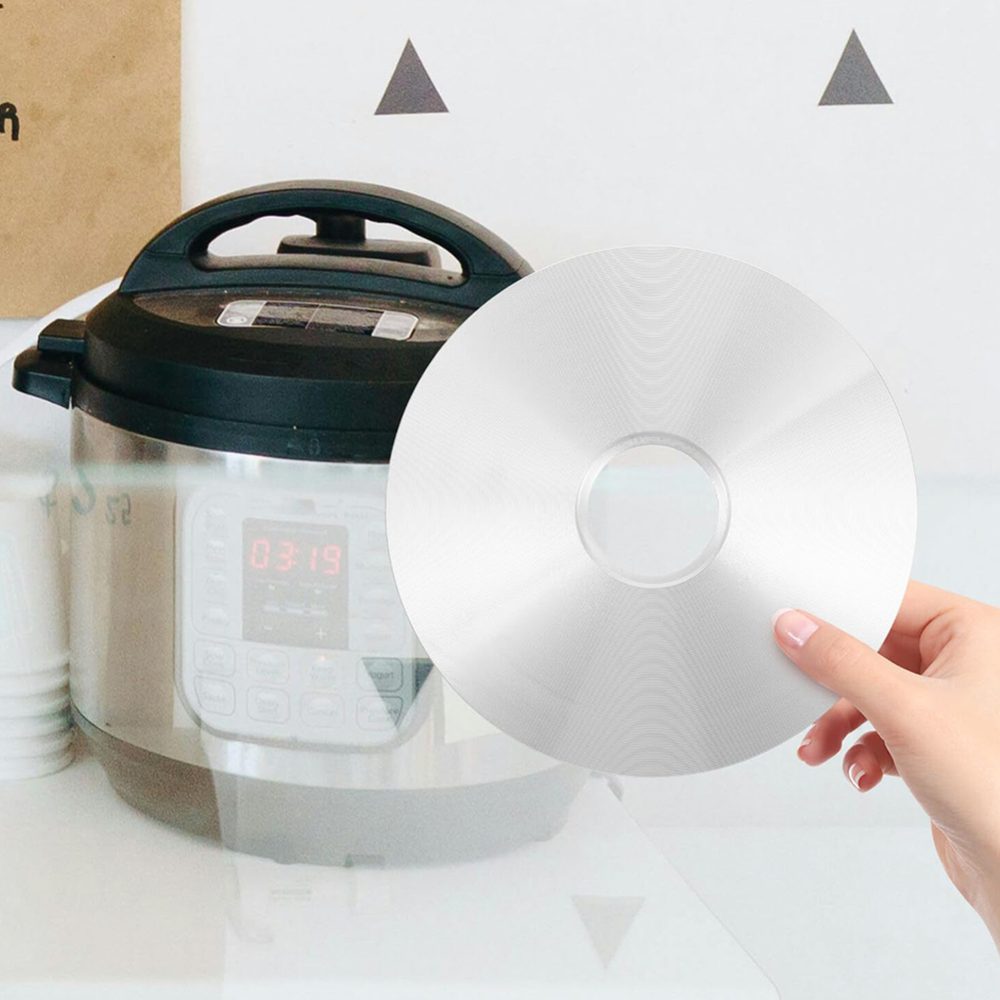
- Locate the heating element, typically a round metal plate connected with wires beneath the inner pot.
- Test the element with a multimeter. If there is no continuity, it means the element is defective.
- Disconnect the wires attached to the old heating element. Take note of where each wire connects.
- Remove the old element carefully. Some models may require loosening additional screws or brackets.
- Install the new element, securing it firmly in place.
- Reconnect the wires exactly as they were.
- Reassemble the rice cooker by replacing the bottom cover.
- Test the unit by plugging it in and running a short cycle with water.
If the rice cooker heats evenly, you’ve successfully completed the repair.
Safety Tips for DIY Repairs
Working with electrical appliances requires caution. Always unplug before starting any repair, wear gloves, and never touch live wires. If you’re unsure or uncomfortable with electrical work, it may be safer to have a professional handle the repair.
Can Every Rice Cooker Heating Element Be Replaced?
Not all models are designed for easy part replacement. Some budget rice cookers are sealed units that make repair difficult or impossible. Before buying a replacement part, check your manufacturer’s manual or contact customer service to confirm availability.
How Much Does a Replacement Heating Element Cost?
The price varies depending on brand and model. On average, heating elements cost between $10 and $30. This makes repair more affordable than replacing the entire rice cooker, especially for higher-end models.
Should You Repair or Replace the Rice Cooker?
Repair is worthwhile if:
- The cooker is high-quality or multifunctional
- Replacement parts are readily available
- The issue is limited to the heating element
If your rice cooker is old, heavily damaged, or lacks available parts, replacement might be the more practical choice.
Final Thoughts
Replacing a rice cooker’s heating element can extend the appliance’s lifespan and save money. With the right tools, a little patience, and careful attention to safety, you can restore your rice cooker’s performance without needing a new one. Always weigh the cost of repair against replacement, but for many users, a DIY fix is the best solution.


